Have you ever wondered how to create multiple layouts/reports in OpenERP7? We spent a lot of time figuring out how to do this.
Let us share our experience as a simple how to.
What you need to do is:
- Copy an existing report (base files) and add configuration
- Create a new "Report"
- Create a new "Action binding"
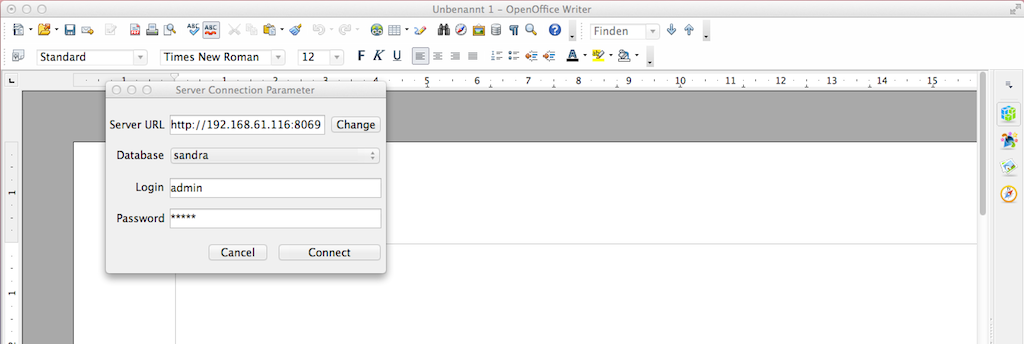
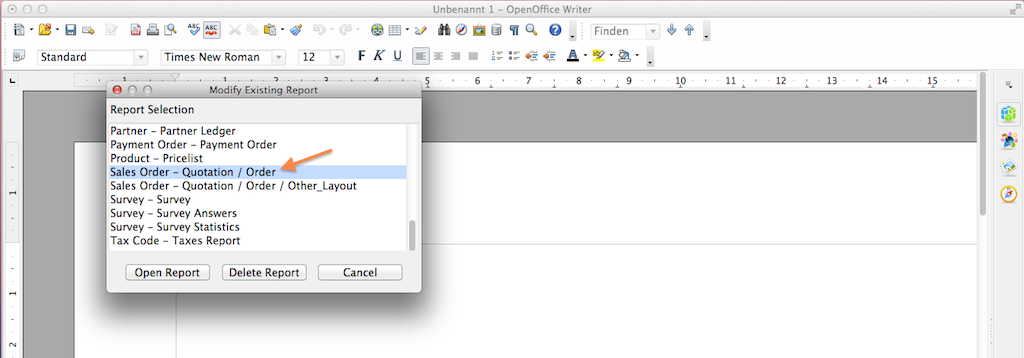
- Edit the newly created report with (in our case) OpenOffice Reporter
- Use it
Note: This documentation is based on OpenERP7 version openerp-7.0-20130618-231044.
Some more details about the previous mentioned points.
1. COPY AN EXISTING REPORT (BASE FILES) AND ADD CONFIGURATION
- open a CLI (terminal) connection to your OpenERP server
- change directory to your installation path and copy the base files (source report - in our case a "sale order")
cd /opt/openerp/server/openerp/addons/sale/report
cp sale_order.rml sale_order_other_layout.rml
cp sale_order.sxw sale_order_other_layout.sxw
cp sale_order.py sale_order_other_layout.py- change the "report name" and path to the rml-file within sale_order_other_layout.py (use your editor of choice (we prefer "vi"))
differences after editing the file sale_order_other_layout.py:
diff sale_order.py sale_order_other_layout.py
output:
42c42
 report_sxw.report_sxw('report.sale.order', 'sale.order', 'addons/sale/report/sale_order.rml', parser=order, header="external")
---
 report_sxw.report_sxw('report.sale.order.other.layout', 'sale.order', 'addons/sale/report/sale_order_other_layout.rml', parser=order, header="external")
Additionally you'll have to add the newly created python file to the python package configuration (otherwise it won't be read/handled during the OpenERP application server restart):
echo "import sale_order_other_layout" >> __init__.pyFinally you'll need to restart the OpenERP application to make the new report available to the system.
/etc/init.d/openerp-server stop
/etc/init.d/openerp-server start
2. CREATE A NEW "REPORT"
Before you start to adjust settings make sure that you have administration privileges and in user "Access Rights" you have "Technical Features" checked. If this is accomplished:
- Go to Settings -> Technical -> Actions -> Reports
- Search for "sale.order" (this is the object name) and edit it.
- Click the "More" drop down list and select "Duplicate" to create a new identical report based on "sale.order".
- Adjust the settings of the new report as required (see image below!)
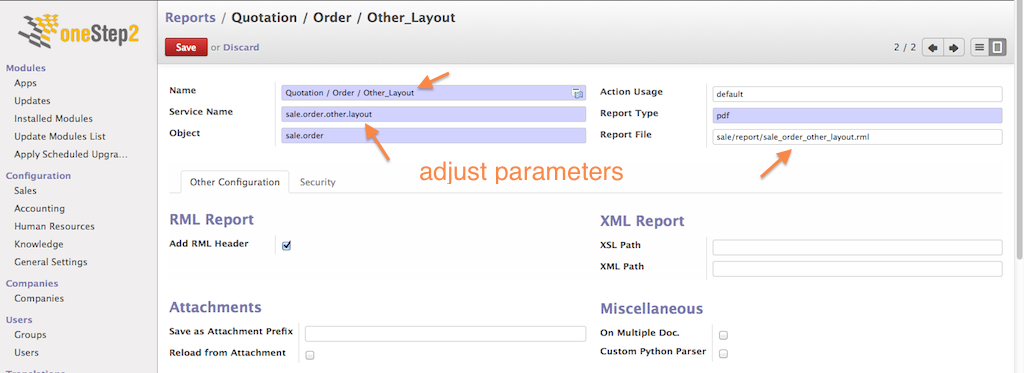
Parameters to set:
- Name: Choose a name for the new report
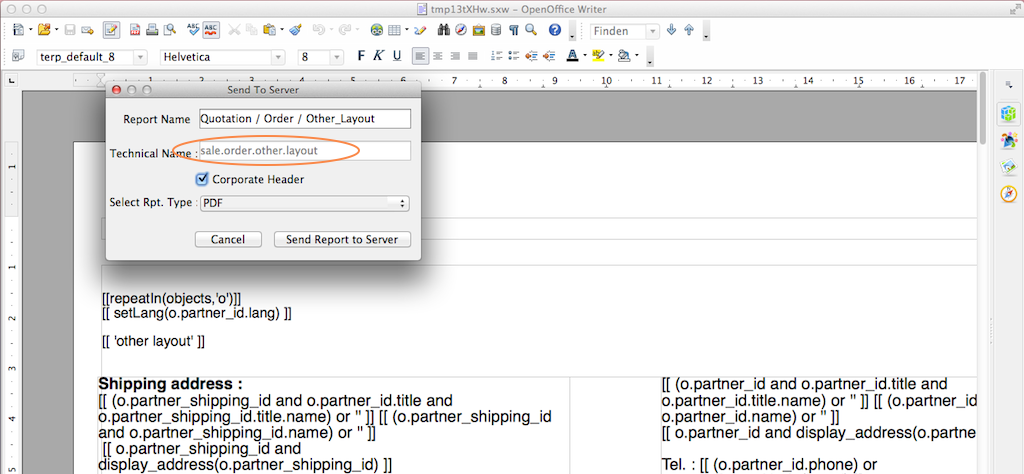
- Service Name: this is the service name as previously configured in the sale_order_other_layout.py file! Make sure it matches!
- Report File: this is the rml-filename as previously configured in the sale_order_other_layout.py file! Make sure it matches!
Finally hit the "Save" button.
CREATE A NEW "ACTION BINDING"
- Go to Settings->Technical->Actions->Action Bindings
- Search for "sale.order" (this is the "Name" as well as the "Model Name") and edit it.
- Click the "More" drop down list and select "Duplicate" to create a new action binding based on "sale.order".
- Adjust the settings for the new action binding as required (see image below!)
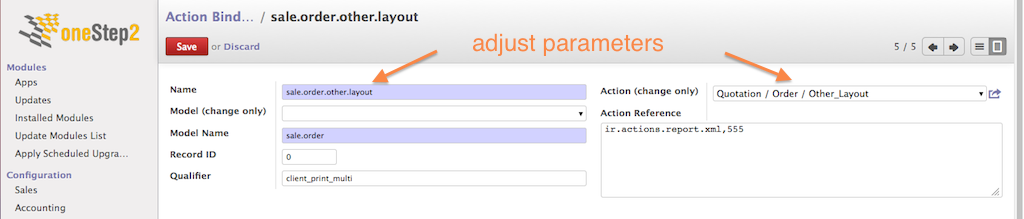
Parameters to set:
- Name: Choose a new name for the action binding! Make sure to choose a unique one (otherwise the "Print" drop down list won't display the new action!)
- Action (change only): Select the previously created new report.
Finally hit the "Save" button.
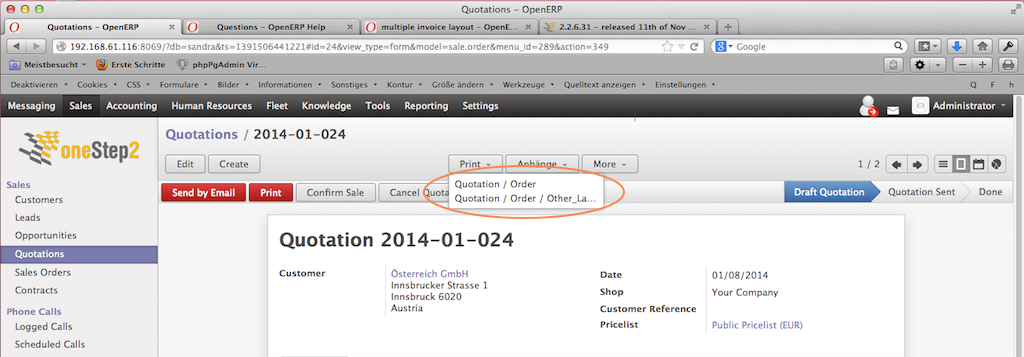
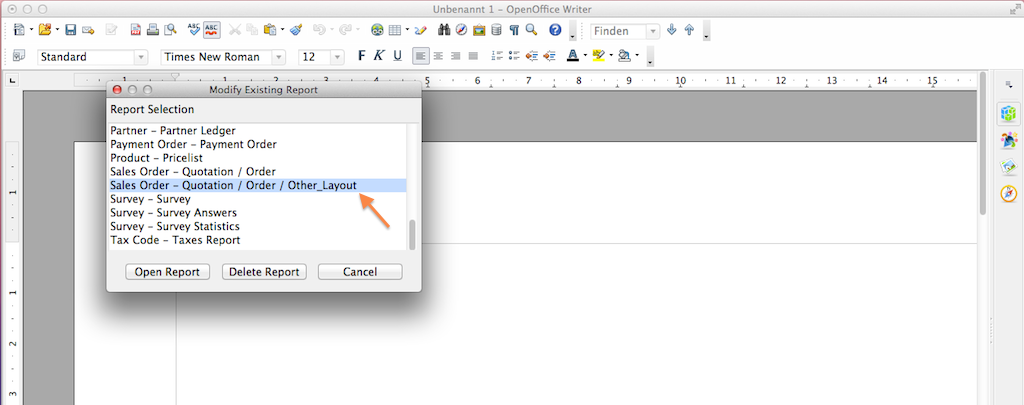
If all settings were successfully done you should have the option to choose between different sale order layouts/reports when printing (see image below!)
4. EDIT THE NEWLY CREATED REPORT WITH (IN OUR CASE) OPENOFFICE REPORTER
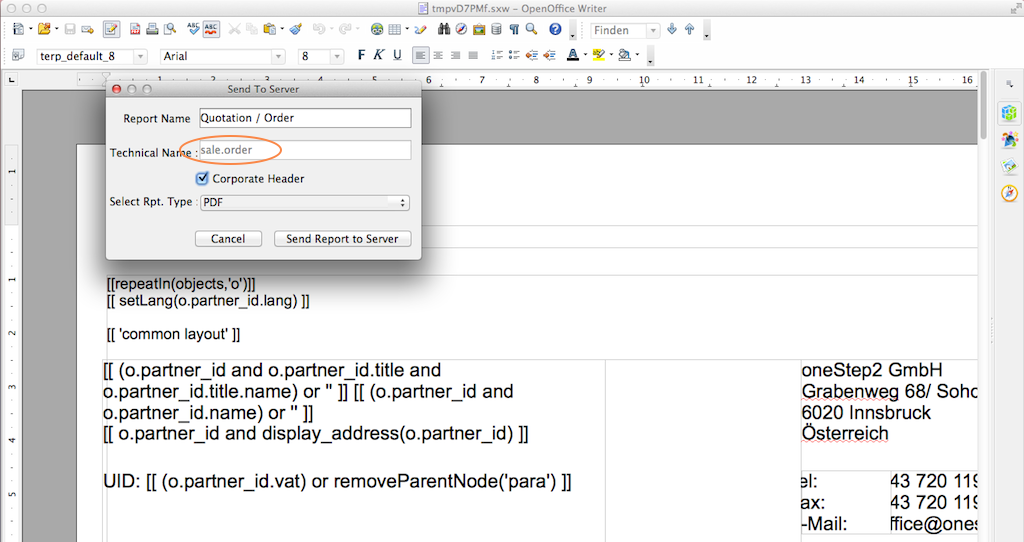
Please have a detailed look to the "orange"-colored annotations.
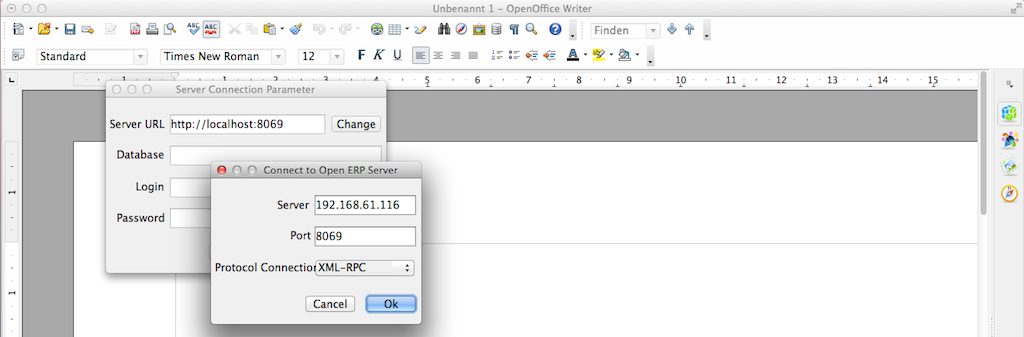
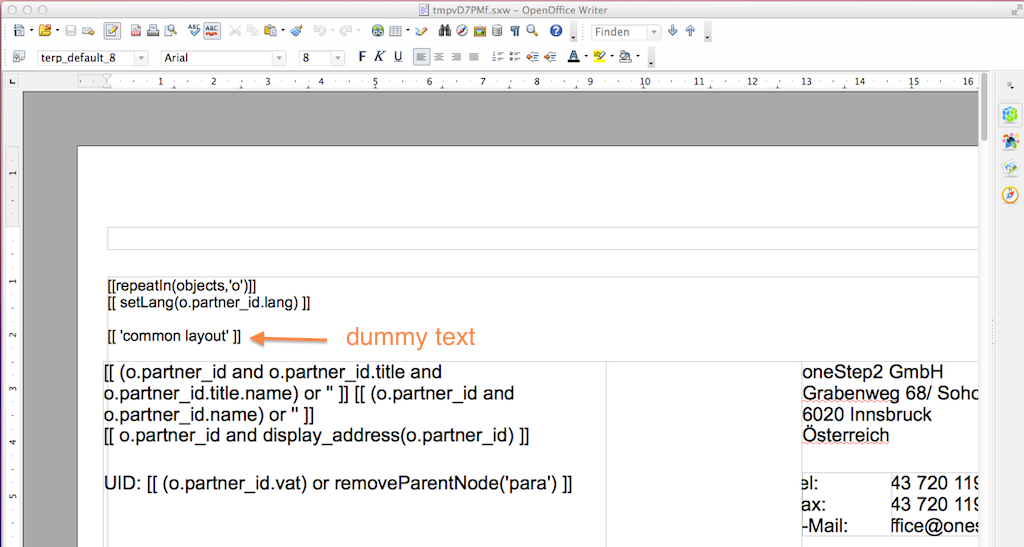
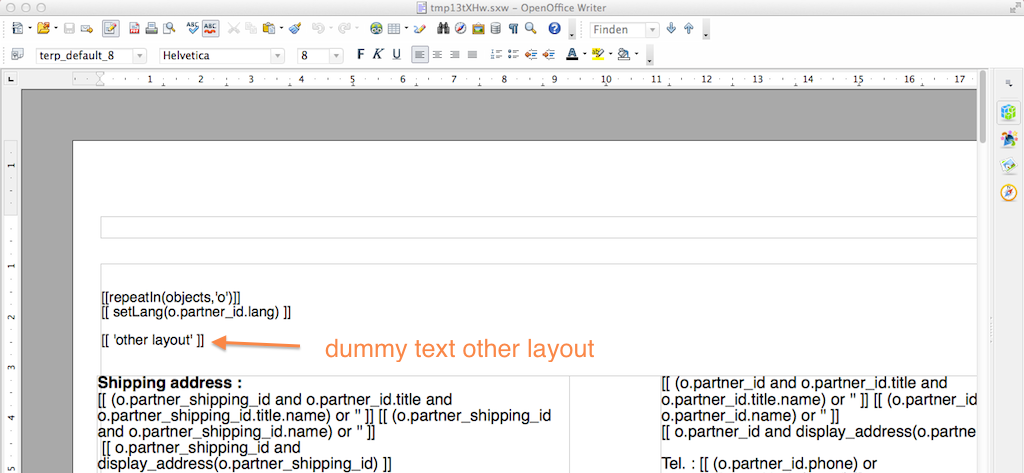
The "dummy text" is used for testing purposes only!
5. USE IT
Finally the new layouts can be used by choosing the appropriate layout when printing the sale order.
Example reports based on the previous settings: common layout (report name: "Quotation / Order"):
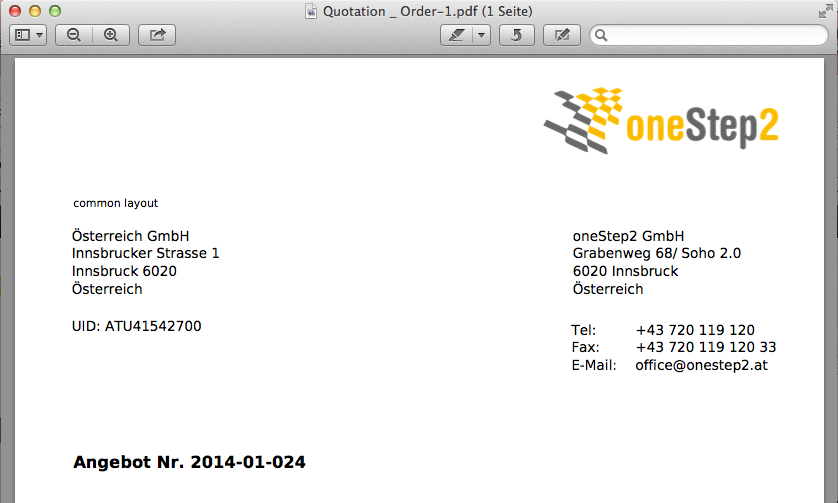
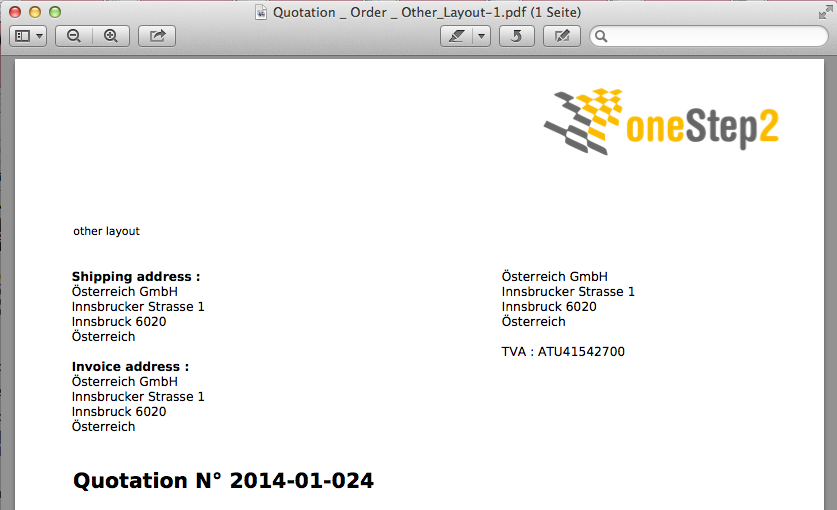
other layout (report name: "Quotation / Order / Other_Layout"):
Great! Isn't it?
If you have questions or if you need professional services or support for your OpenERP/odoo installation feel free to contact us. Simply use our contact form.
COMMENTS
VERY USEFUL - BY JORGE SIXTO
Perfect, I followed the instructions and it has worked perfect. It is very useful when I use a report for an invoice with logo for emailing and another bill that is printed with a sheet of paper with pre-printed logo for example.
Keep in mind that if a language other than English is used there to perform translations for the new report.
Thank you very much Dragan.
TRANSLATION OF CUSTOM REPORTS - BY DAVY VANDEKERCKHOVE
To have the same translations as the original report, you can copy all translations using the following steps :
- Go to Administrator -> Settings -> Application Terms -> Translated Terms
- Set an advanced filter for "Translated field" "sale.order", "type" "Report/Template" and "Language" "your language"
- You should now see all translations from the original report. Press the checkbox to the left of source in the column header to select all items
- Press More -> Export
- In the popup window, add all fields except "record id" (otherwise importing will overwrite the translations of the original report), and press "export to file"
- Open csv file with editor, search & replace "sale.order" to "sale.order.other.layout", save file
- Click the import link next to the create button, select your edited csv file, press "check" and if valid press "import".
- Synchronize translations